
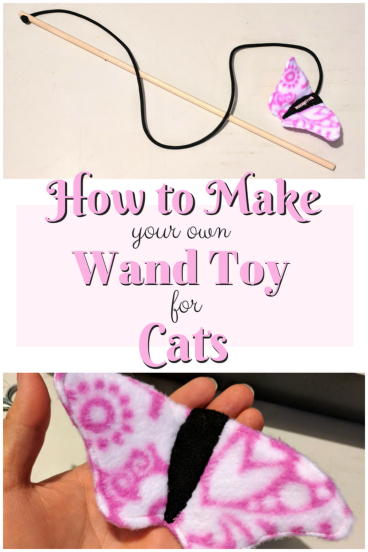
Today, I am showing you how to create a durable wand toy for cats!
These days, the wand toys you buy at the pet store are often made from weak plastic that may snap into pieces, and the string comes off after a few days… if the toy at the end hasn’t come off or come apart already.
I say, no more! It doesn’t cost much to make a strong toy for cats, and it isn’t complicated, either.
Tutorial for both the wand and toy
Materials Needed
- Dowels
- Tool to cut dowel
- Tool to create a hole in dowel
- Sandpaper
- Fabric
- Thread
- Stuffing for toy (if necessary)
- String, cord, thin rope, whatever you want to use for attaching the toy to the wand
Step 1: The Wand
The first step is creating the “wand” part of the toy. I get 3 foot long dowels and simply cut them in half, then drill a hole on one end.
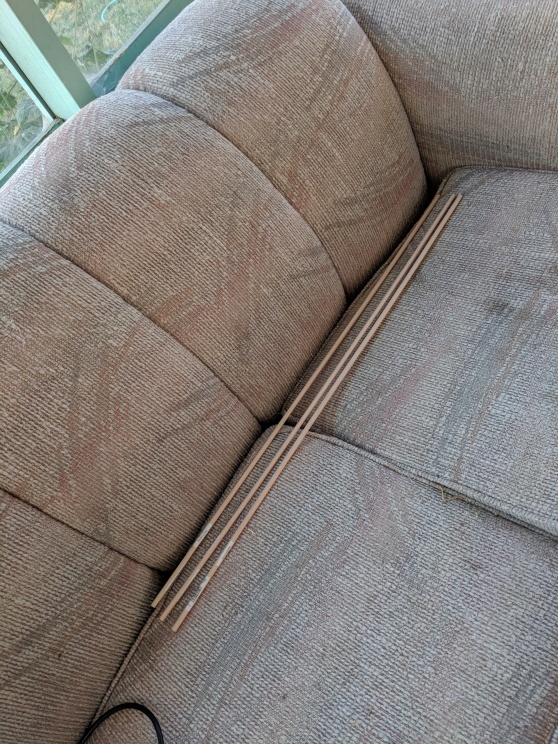
Three foot long dowels
I used a rotary tool to cut mine in half. If you don’t have any kind of power tools, you could see if you can find a small hand saw at your local dollar store.
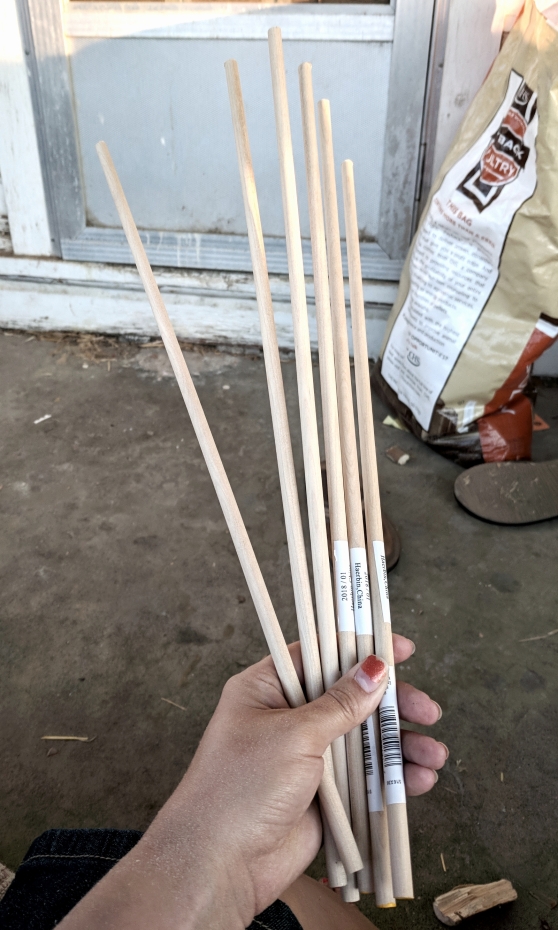
Removing the stickers took the most work!
If you would like your wand to be longer or shorter, now is the time to mess around with the length. Personally, I find that longer wands feel top heavy and are more difficult to control. Likewise, wider dowels are heavier and will likely tire your arm out before your cat is done playing.
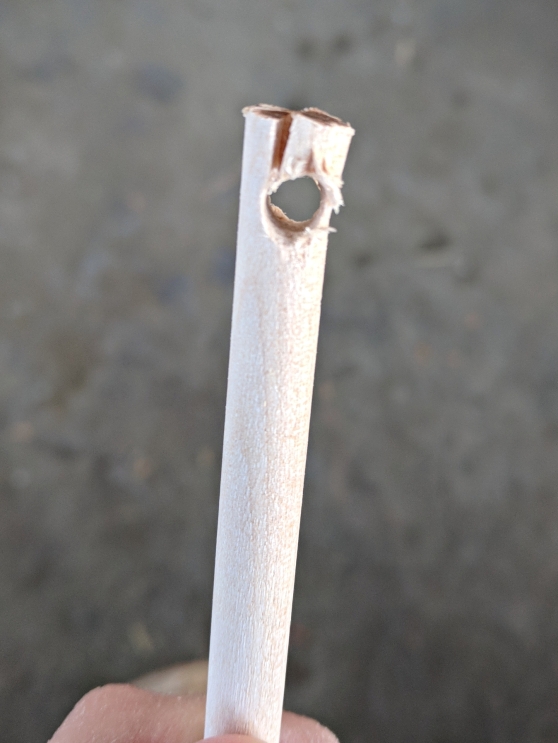
Oops! I just trimmed this end down, and then drilled a new hole. Good as new!
I used a drill to make the hole. Perhaps you could carefully hammer a nail through one end, and then pull it out. This has a higher chance of causing the wood to crack.
Whatever you use to make the hole, make sure whatever type of string you use will fit through it!
After cutting the dowel to size and making the hole, you will want to sand it down and make sure everything is smooth. You will be handling this a lot while you play with your cat!
You can even paint or stain it!
Step 2: Plan Out Your Toy
Draft your toy pattern! Sounds like too much work? Luckily, cats are easily amused! An easier option is making a toy with feathers, excess string, or simply attaching a toy you may already have. If this is your choice, move on to step 3!
Still here for a crash course in making a simple pattern? Awesome! First, pick what you want to make. If you haven’t done this before, stick with something that will look good in 2D. For this example, I will be making a butterfly. To get an idea of how I want to wings to be shaped, I just googled images of butterflies.
I chose to look at pictures of live butterflies for their natural wing position. For some reason deceased butterflies are often pinned in an unnatural position, with their wings pulled up above their body. Live butterflies usually rest their wings at more of a perpendicular angle to their body.
I drew one wing freehand, and then folded the paper in half before cutting it out. Make sure the fold is in the middle of your (symmetrical) pattern if you choose to do this.
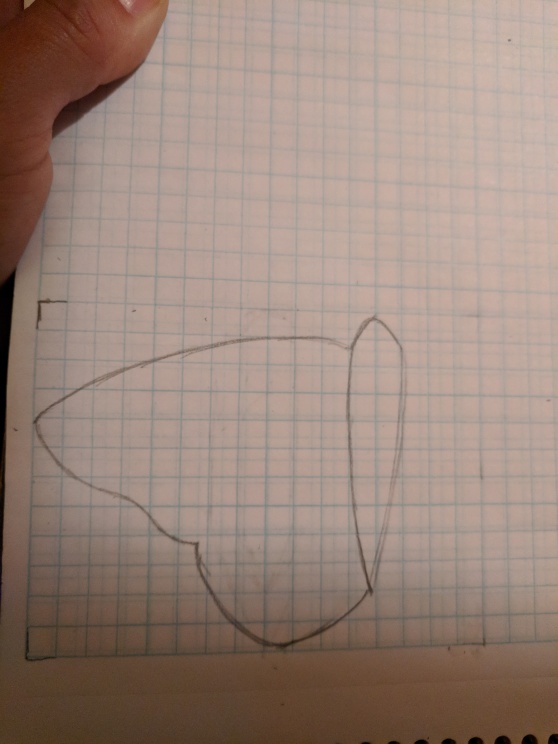
Since I am making such a small item, I’m just using some graph paper I have laying around!
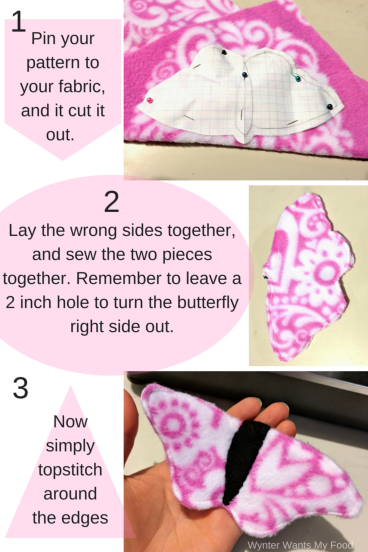
Step 3
Make the toy! Here’s a few graphics to show how I did mine. For illustration purposes, I used thread that wasn’t exactly coordinating for this tutorial.
If you are worried about cutting your pattern, you could pin the pattern to the wrong side of the fabric and lightly draw the outline on the fabric, instead. To make your paper pattern more durable, you can line one side with tape
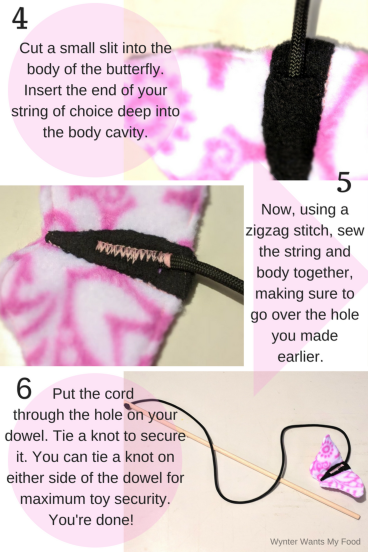
Now, you have a handmade wand toy! Go test it out with your cat(s)!!
Step 4: No, seriously.
Go test it out.
Play with your cats until your toy falls apart, or you find a flaw. Then, remake your toy. Tweak the pattern if you need to. Figure out how to make it better! This is the best way to learn what needs work. Your very first try (as I’ve shown you here with this particular pattern) isn’t going to be perfect!
Variations
If you would like to do something different with your wand toy, here are a few ideas:
- If you have paracord, look up how to do a handle wrap on YouTube!
- You could incorporate the paracord into the toy as a design element instead of hiding it inside the body of the toy.
- You could paint or stain your dowel.
- You could attach an existing toy, feathers, or other objects to the end of your wand toy instead of making your own pattern for a toy.
Have you ever made any toys for cats? I’d love to hear about it! Share your ideas below in the comments!
Would you like to see more of Wynter and friends, or interact with us and her fans? Follow the Wynter Wants My Food Facebook page, and here’s my Pinterest! Where you can find the Wynter Wants My Food board that has all kinds of information, inspiration, tutorials and recipes for cats!
